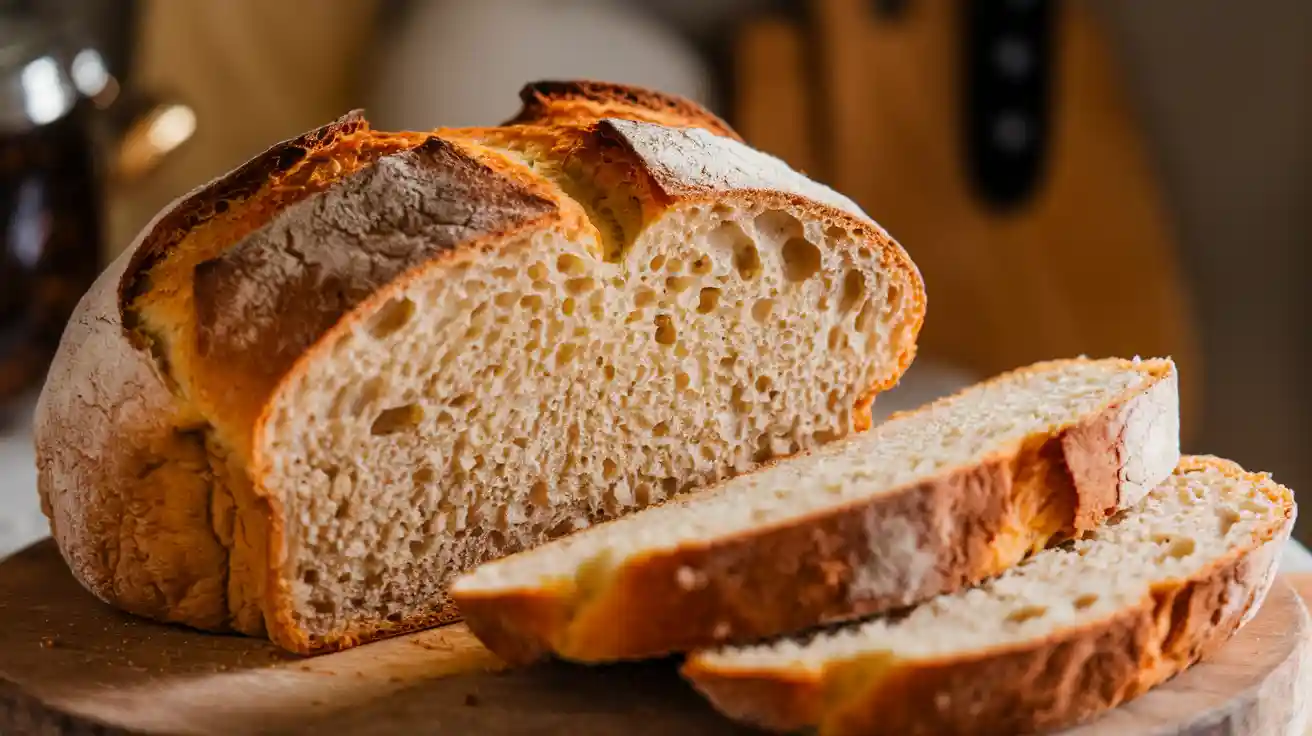
There’s nothing quite like the comforting aroma of freshly baked bread filling your home. With this bread recipe for a bread machine, you can enjoy that delightful scent and a delicious homemade loaf with minimal effort. Bread machines have transformed home baking, simplifying the process and eliminating the need for kneading, proofing, or monitoring the oven.
This versatile bread recipe is perfect for both beginners and experienced bakers. Whether you’re craving a warm slice with butter, a hearty sandwich, or a side for your favorite soup, this recipe guarantees a soft, fluffy loaf every time. Best of all, you only need a handful of simple ingredients and your trusty bread machine.
Table of contents
- Ingredients for the Best Bread Machine Recipe
- Why This Homemade Bread Machine Recipe Works
- Step-by-Step Guide: How to Make a Bread Machine Recipe
- Additional Tips for a Perfect Loaf
- Troubleshooting Your Machine Bread Recipe
- Variations of This Easy Bread Machine Recipe
- Why Use a Bread Machine for Homemade Bread?
- Frequently Asked Questions About Bread Machine Recipe
- Final Thoughts
Ingredients for the Best Bread Machine Recipe
To make this bread recipe, gather the following ingredients. Each one plays a crucial role in achieving the ideal texture and flavor:
- 3 cups bread flour – Creates a soft, chewy texture.
- 1 ½ teaspoons salt – Enhances flavor and controls yeast activity.
- 1 tablespoon sugar – Feeds the yeast and adds a touch of sweetness.
- 1 packet (2 ¼ teaspoons) active dry yeast – Essential for rising.
- 1 cup warm water (around 110°F) – Activates the yeast.
- 2 tablespoons olive oil or melted butter – Keeps the bread tender.
- 1 tablespoon milk powder (optional) – Adds richness and softness.
Why This Homemade Bread Machine Recipe Works
Bread flour provides higher protein content, helping to create a chewy, well-structured loaf. The yeast ensures a proper rise, resulting in an airy texture. Olive oil or butter contributes moisture and richness, while sugar balances the flavor and feeds the yeast.
Step-by-Step Guide: How to Make a Bread Machine Recipe
Follow these simple steps to create the perfect loaf using your bread machine:
Step 1: Prepare the Bread Machine
Ensure the bread machine is clean and ready for use. Insert the bread pan and attach the kneading paddle.
Step 2: Add Wet Ingredients
In a small bowl, whisk together the warm water and olive oil or melted butter. Pour the mixture into the bread pan.
Step 3: Add Dry Ingredients
In a separate bowl, combine the bread flour, salt, sugar, and milk powder (if using). Mix well for even distribution, then add the dry ingredients to the bread pan, spreading them evenly over the wet mixture.
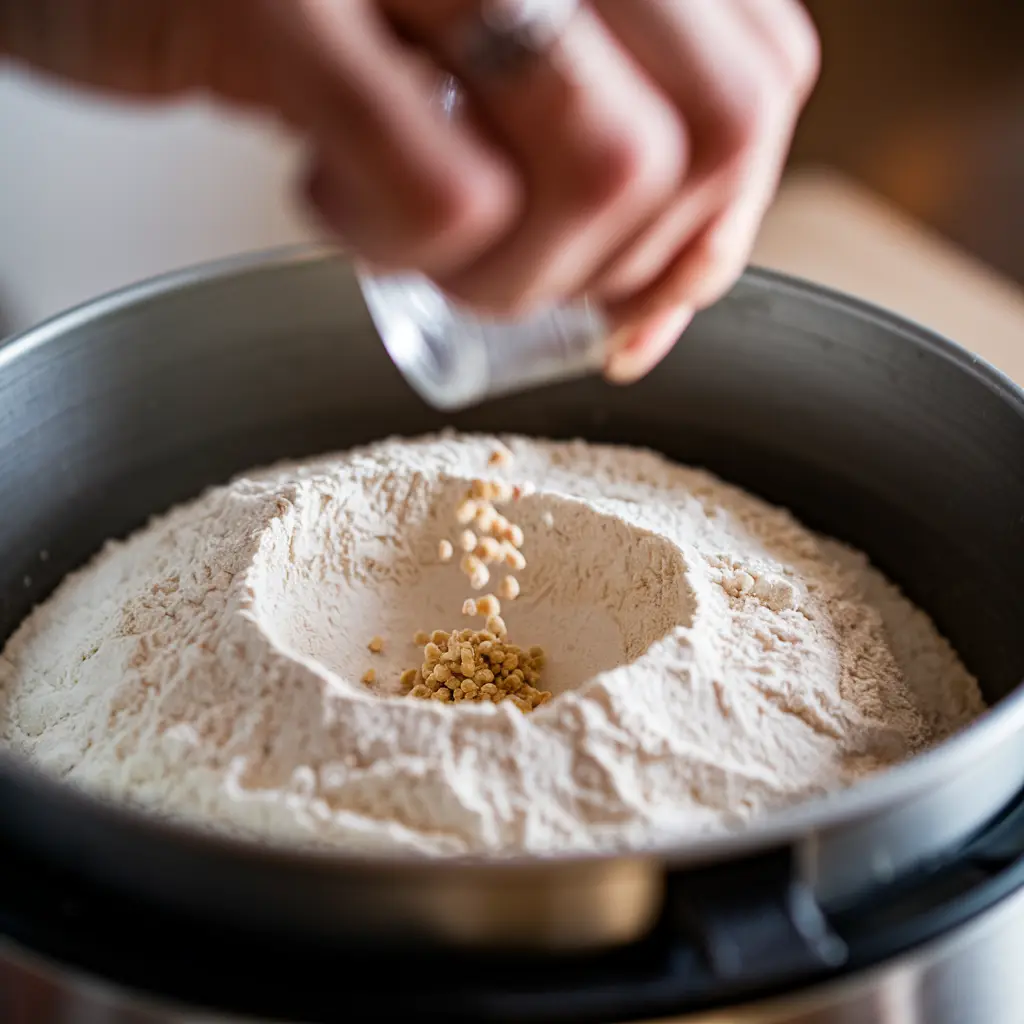
Step 4: Add the Yeast
Create a small well in the center of the dry ingredients and add the yeast. This prevents premature activation.
« Discover the history and uses of [ingredient] in our articles on Seafood Paella Recipe and Filipino Adobo Recipe. »
Step 5: Select the Basic Setting
Place the bread pan into the machine and secure the lid. Choose the basic setting, select the loaf size (medium works best), and opt for a light or medium crust.
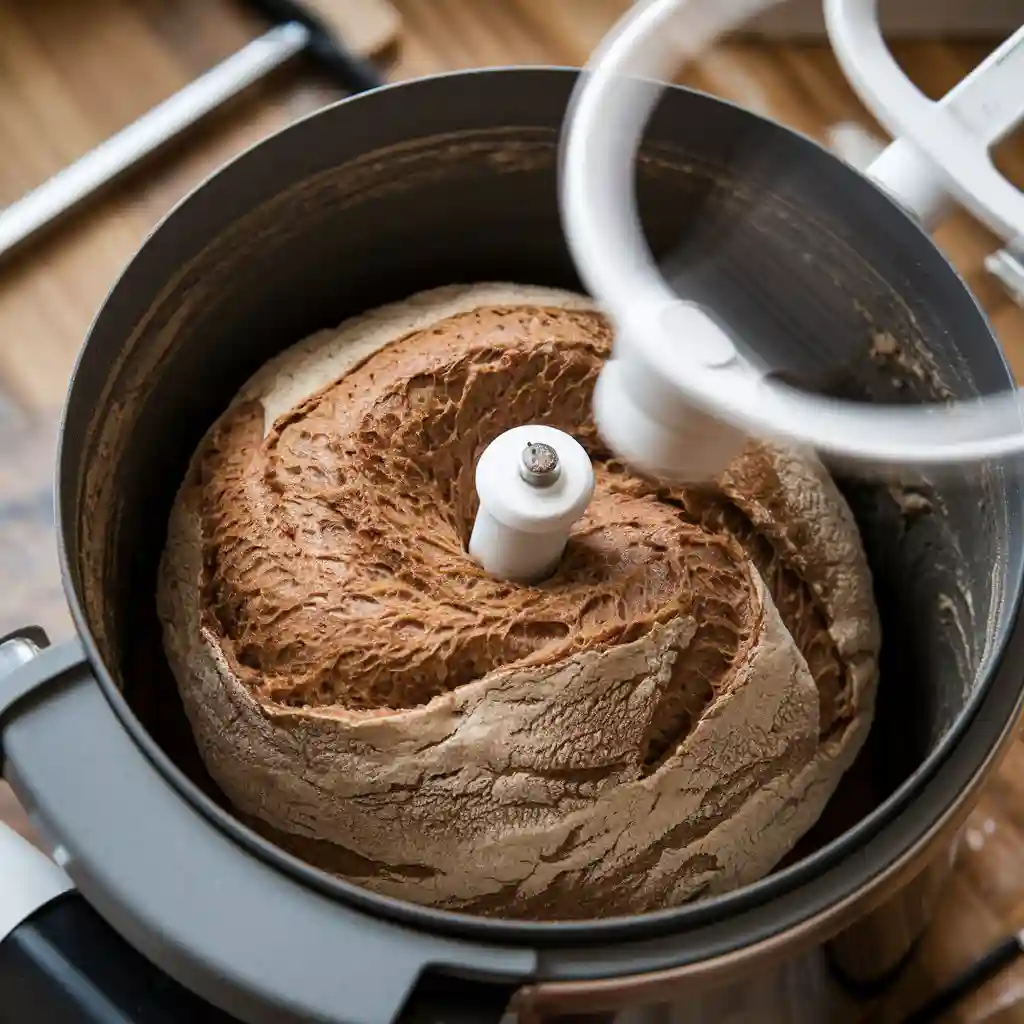
Step 6: Let the Machine Work
Press start and allow the bread machine to do its job. The process typically takes 2–3 hours, depending on your machine. Avoid lifting the lid during baking, as this can affect the bread’s rise.
Step 7: Remove and Cool
Once the baking cycle is complete, use oven mitts to remove the bread pan. Gently shake it to release the loaf, then transfer it to a wire rack to cool completely before slicing.
Step 8: Slice and Serve
Use a serrated knife for even slices. Serve warm with your favorite toppings, or store for later use.
« Learn how to pair [ingredient] with other flavors in Burger Cooking Guide and Trendy Burgers Recipes. »
Additional Tips for a Perfect Loaf
Ingredient Substitutions
- Bread Flour: All-purpose flour can be used, though the texture may be less chewy.
- Milk Powder: Replace with ¼ cup warm milk if preferred.
- Sugar: Honey or maple syrup works as a natural alternative.
Storage Recommendations
- Keep the bread in an airtight container at room temperature for up to three days.
- For longer storage, wrap tightly and freeze for up to three months.
Customizing Your Bread
- Add seeds like sesame, sunflower, or poppy for extra texture.
- Incorporate herbs or spices like rosemary, garlic powder, or cinnamon for a unique twist.
« For more [ingredient]-based recipes, try Biscuits and Gravy Recipe and Biscuits and Gravy Recipe 2. »
Troubleshooting Your Machine Bread Recipe
Why Is My Bread Dense?
Too much flour or not enough liquid can result in dense bread. Measure ingredients carefully, and add an extra tablespoon of water if the dough appears dry.
Why Didn’t My Bread Rise?
Expired yeast or incorrect water temperature might be the issue. Use fresh yeast and ensure the water is around 110°F.
How Can I Prevent a Gummy Texture?
Undercooking often leads to a gummy texture. Choose the basic setting on your bread machine, as it typically includes a longer baking cycle.
« Find out how to incorporate [ingredient] into your diet with Chocolate Martini Recipe and Classic Cosmo Recipe. »
Variations of This Easy Bread Machine Recipe
Whole Wheat Bread
Replace 1 cup of bread flour with whole wheat flour for a healthier, nuttier loaf.
Herb and Cheese Bread
For extra flavor, add 1 teaspoon of dried herbs (like rosemary or thyme) and ½ cups of shredded cheese during the kneading cycle.
Sweet Cinnamon Raisin Bread
Mix 1 teaspoon of cinnamon with the dry ingredients and add ½ cup of raisins during the kneading cycle for a delightful treat.
For substitutes for [ingredient], check out our recommendations in Turkey Soup Recipe and Turkey Pot Pie Recipe. »
Why Use a Bread Machine for Homemade Bread?
Consistency
The machine ensures even mixing, kneading, and baking, reducing human error.
Convenience
Simply add the ingredients, select the setting, and let the machine handle the rest.
Perfect Texture
Designed specifically for dough preparation, bread machines ensure a well-risen, evenly baked loaf every time.
Frequently Asked Questions About Bread Machine Recipe
Is It Cheaper to Buy Bread or Make It in a Bread Machine?
Making bread in a bread machine is often cheaper than buying store-bought loaves, especially if you bake frequently. The cost of ingredients like flour, yeast, and salt is relatively low compared to the price of premium bakery bread. Additionally, homemade bread is free from preservatives and artificial additives, making it a healthier and more cost-effective option in the long run.
Why Don’t People Use Bread Machines Anymore?
Bread machines were highly popular in the 1990s, but their usage has declined due to changing lifestyles. Many people opt for store-bought bread because it’s convenient and requires no preparation. Additionally, some find bread machines bulky and prefer baking bread in the oven for more control over crust texture and shape. However, bread machines are still valued for their ease of use, consistency, and ability to make fresh bread with minimal effort.
« Explore the versatility of [ingredient] in our guides to Pina Colada Recipe and Aperol Spritz Recipe. »
Can I Use Regular Flour in a Bread Machine?
Yes, you can use regular all-purpose flour in a bread machine, but the texture may differ slightly. Bread flour is recommended because it has a higher protein content, which helps create a chewier and more structured loaf. If using all-purpose flour, consider adding a teaspoon of vital wheat gluten per cup of flour to improve the bread’s elasticity and rise.
What Is One Drawback of Using a Bread Machine?
One downside of using a bread machine is the lack of customization. While it simplifies the baking process, it doesn’t offer the same level of control as traditional baking. For example, adjusting kneading times, shaping the loaf, or achieving a crispy crust can be more challenging in a bread machine. However, for those who prioritize convenience, a bread machine remains an excellent tool for making homemade bread effortlessly.
Final Thoughts
This bread recipe is a game-changer for those who love fresh, homemade bread but prefer an easy method. The simple ingredients and foolproof process ensure success every time. Don’t hesitate to experiment with different flavors and textures to make it your own.
We hope you found this guide helpful. If you have any questions or want to share your baking success, leave a comment below or connect with us on social media. Happy baking!